When I was a teen, I had this crazy idea one day that I was going to make over our Christmas tree. I was bored of the traditional looking trees and wanted something completely different. I decided to do a pink and gold theme and even spray painted old ornaments we had gold so I would only have to buy new pink ones.
While I was doing this, I suddenly got the idea that I wanted to have pink flowers as part of our Christmas tree. Flowers are really trendy now and I've been doing "Christmas garden" type trees for years now, but back when I was a teen, it was pretty uncommon. I didn't care, I wanted flowers in my tree.
So I went to Michaels and purchased some clear glass ornaments and other items like faux, shimmering snow and fun glittery picks. Then, I used existing faux flowers that we had at the house and I carefully shoved the flowers into the ornaments and added faux snow and they were beautiful and made the tree look elegant and pretty.

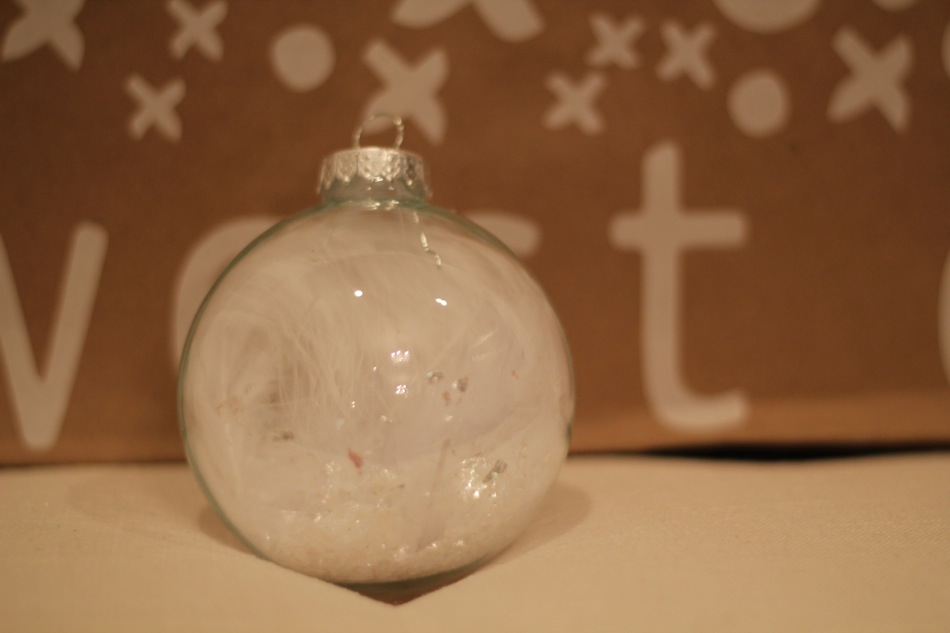
(some ornaments I made this past weekend)

I continued to make these style ornaments for a couple of years and then I just found myself not having the time and just bought ornaments.
I had a craving to make some again this year so H and I headed to Michaels and he patiently perused the store with me as I selected what would go in the ornaments this year. I like to do a mix of textures and stay in the same color family.
Some of the items I love to use:
- Faux shimmering snow
- Faux flowers (keep in mind that the flower has to fit into the ornament so try to choose a smaller style)
- Glittery picks (feathers, trees, snowflakes)
- Glittery stars (basically anything glittery that can be cut)
- Feathers (I used white)
- Ribbon (printed)
- Glitter tape


As far as the ornaments themselves, you will need clear glass ones with removable tops. Michaels sells these but they are not on the website, so this link will show you what I mean. They have a variety of sizes. I prefer to do mostly large ones and then some medium and a few small ones.
The key to these ornaments is that the top just pops right off, allowing you to insert what you like and then put the top back on. It's so easy!
Here are some tools you'll need:
- Scissors
- Wire cutters
- A hard surface to work on
- A funnel (to put the shimmering snow into the ornament)
- A tarp or garbage bag if you have one (to catch the glitter...which is now all over my house, I wish I had done this)
- A vacuum cleaner (for all of the glitter that will inevitably be left behind)
The thing that is so great about these ornaments is that they are meant to be imperfect. It's always a fun experiment with different combinations inside of the ornament to see what works.
As you "shove" items into the ornament, they kind of take on their own shape, thus making each ornament unique. I like to use my scissors to gently help me insert items into the ornament---just be gentle as you do this since you are working with glass. Some softer items can just be inserted using your finger, but again, be careful as the tops of some of the ornaments may have a tiny piece of glass sticking out that could prick you (yes, I speak from experience).
I've added some photos I took while making the ornaments to give you a visual idea of how the items go into the tops of the ornaments. Then I'll show some photos of the finished products.


The total cost to make more than 30 ornaments was just over $60. I bought a lot of the items at 50% off and also used another discount coupon. I have leftover crafting supplies as well, which is great!
These ornaments add a great personal touch to your tree and also make wonderful gifts. They are also completely customizable to any color scheme and fairly inexpensive to make. I've also inserted black and white family photos into these ornaments in the past. It's a little tricker but a nice way to honor family members.
Hope you enjoyed this post and let me know if you plan to make your own ornaments this year! Our tree should be up in the next few weeks :)
Here are some of the final products:


and some other goodies that will be on our tree this year (from West Elm):


Thank you for reading!


0 comments:
Post a Comment